Conversations
Start chats, select models, attach files, and manage your conversation history.
Chathouse gives you a unified chat interface across all your connected AI providers. You can start new conversations, switch models mid-session, attach files, and manage your entire chat history from one place.
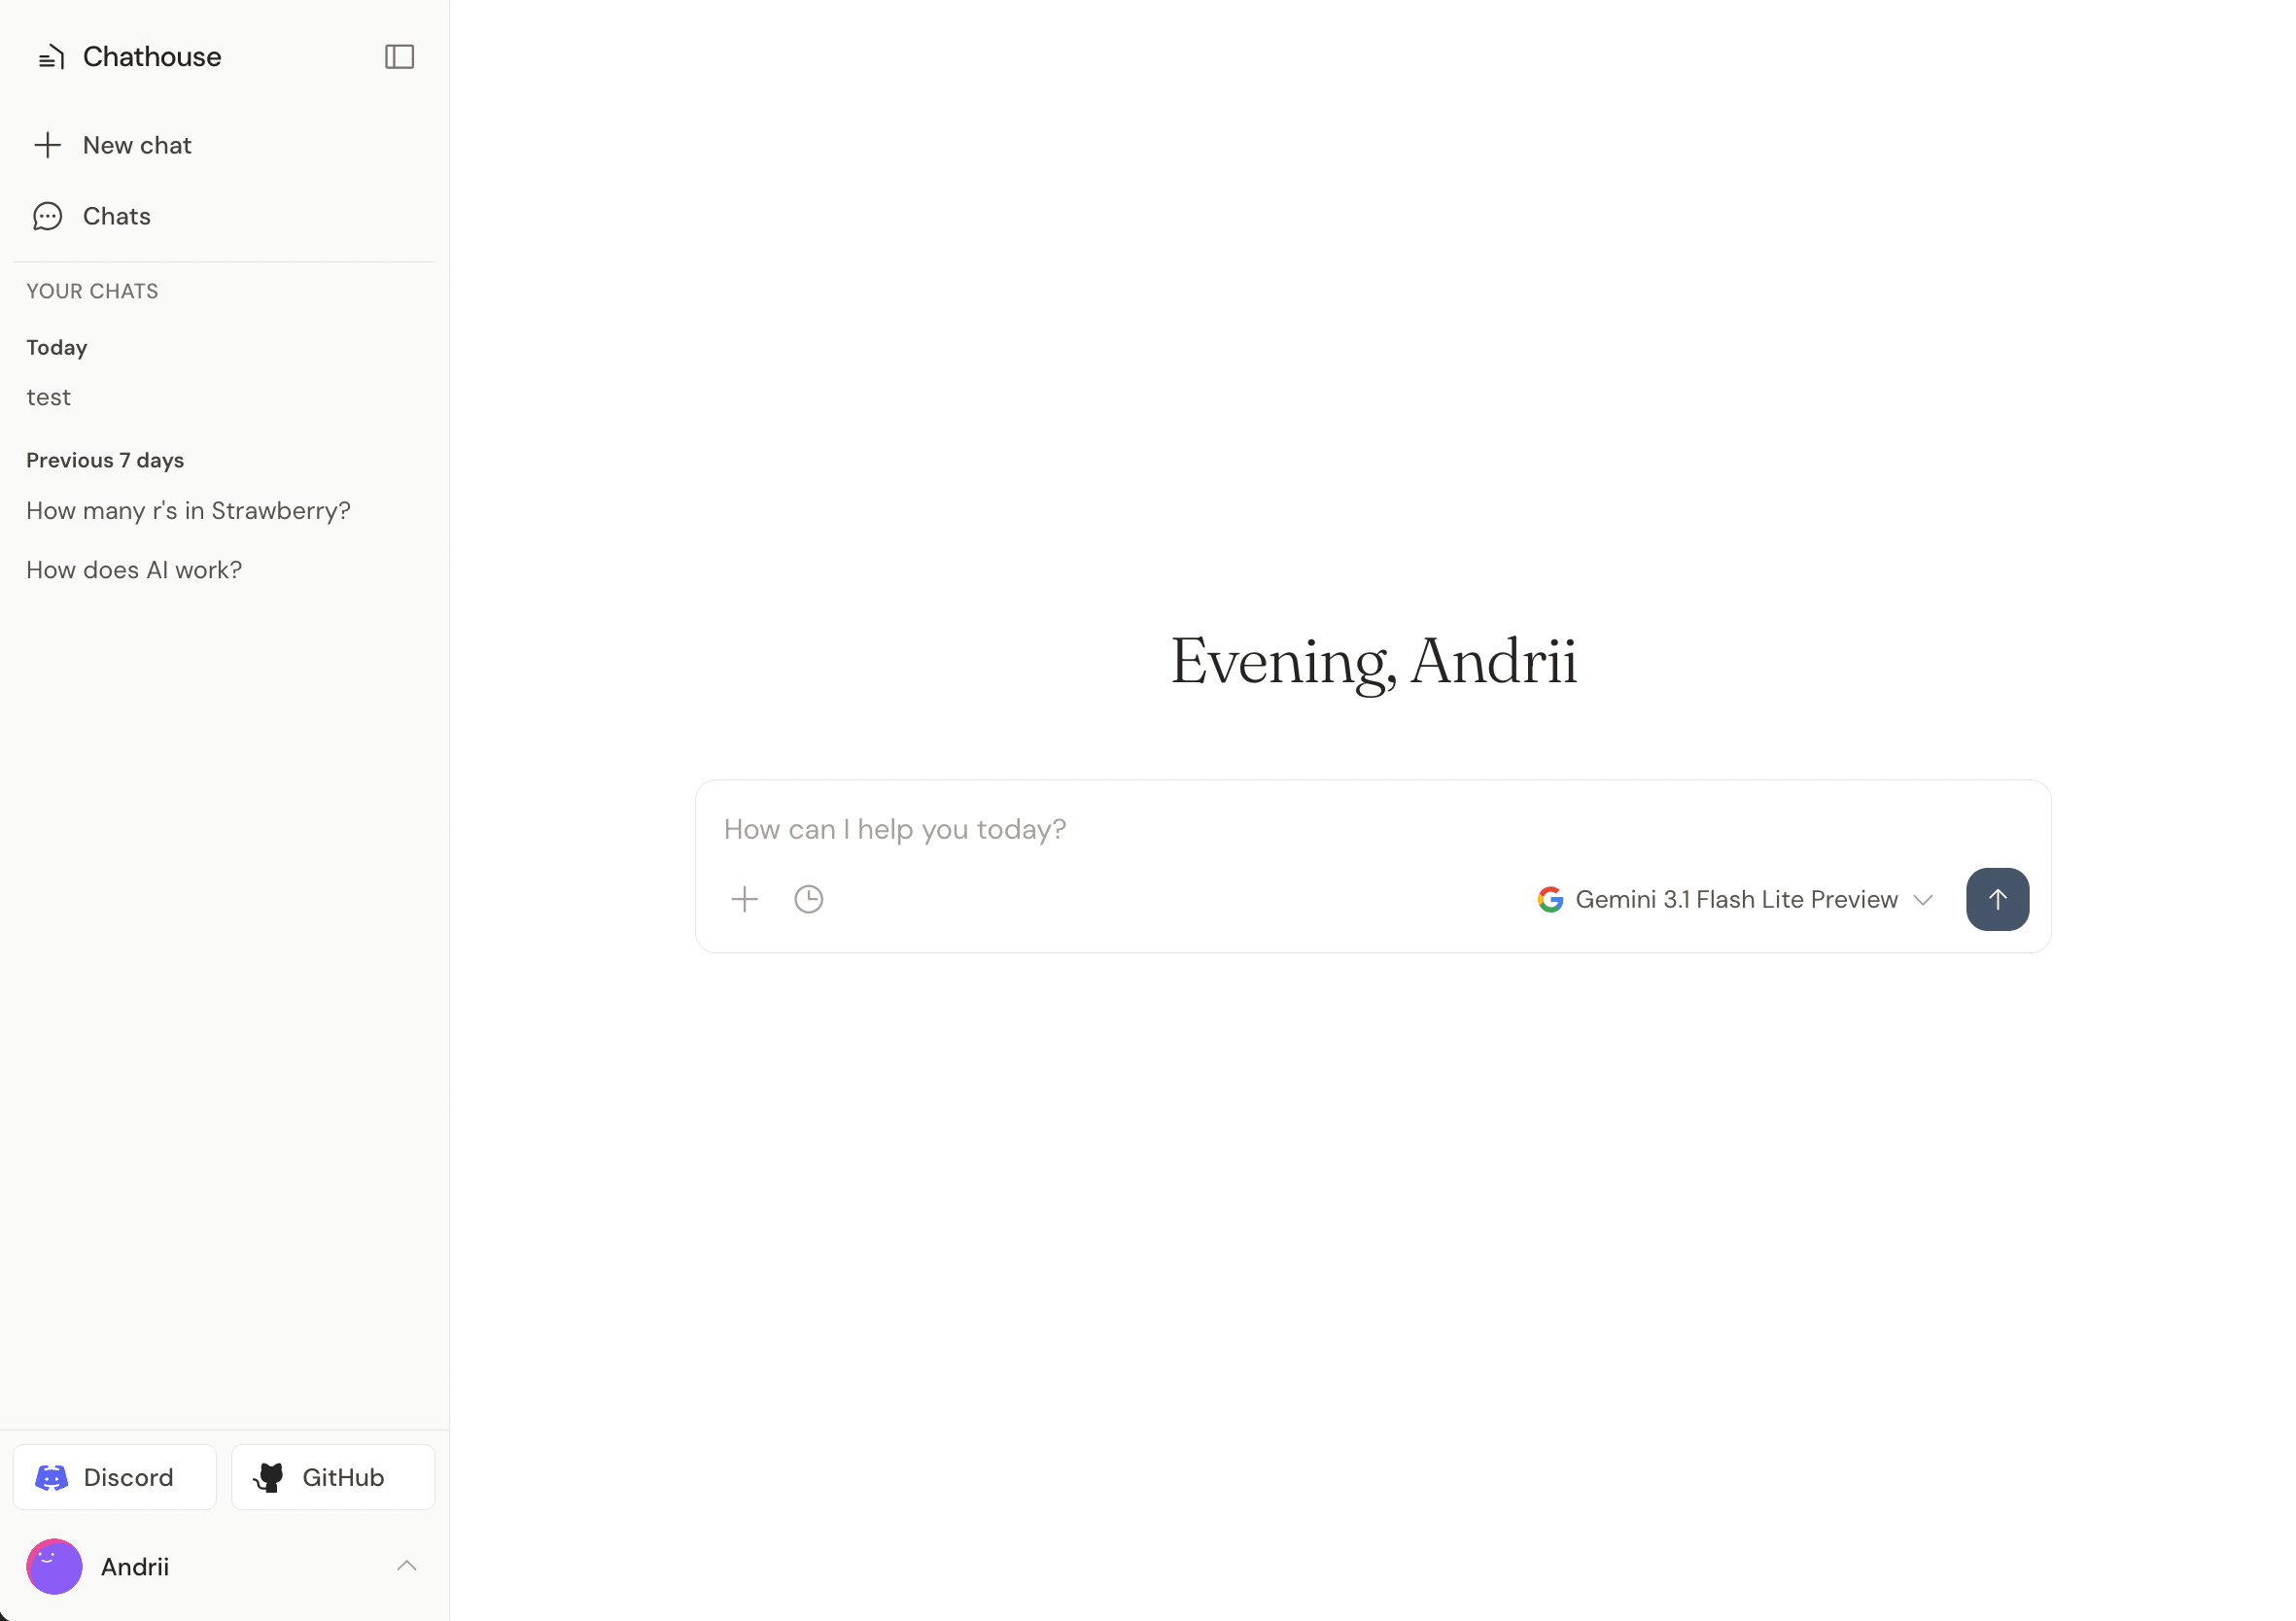
Starting a new chat
Click the New chat button in the sidebar (or navigate to /chat). You'll see a greeting and an empty message input at the bottom of the screen.
Type your message and press Enter (or click the send button) to start a conversation. The AI will respond in real-time — you'll see the response stream in as it's generated.
Responses are processed in the background via a job queue. This means the AI will finish its response even if you close your browser tab or navigate away.
Selecting a model
Before sending a message, click the model selector at the bottom-left of the chat input. This opens a popup with two sections:
- Favorites — models you've starred for quick access
- Provider tabs — browse all available models grouped by provider (OpenAI, Anthropic, Google)
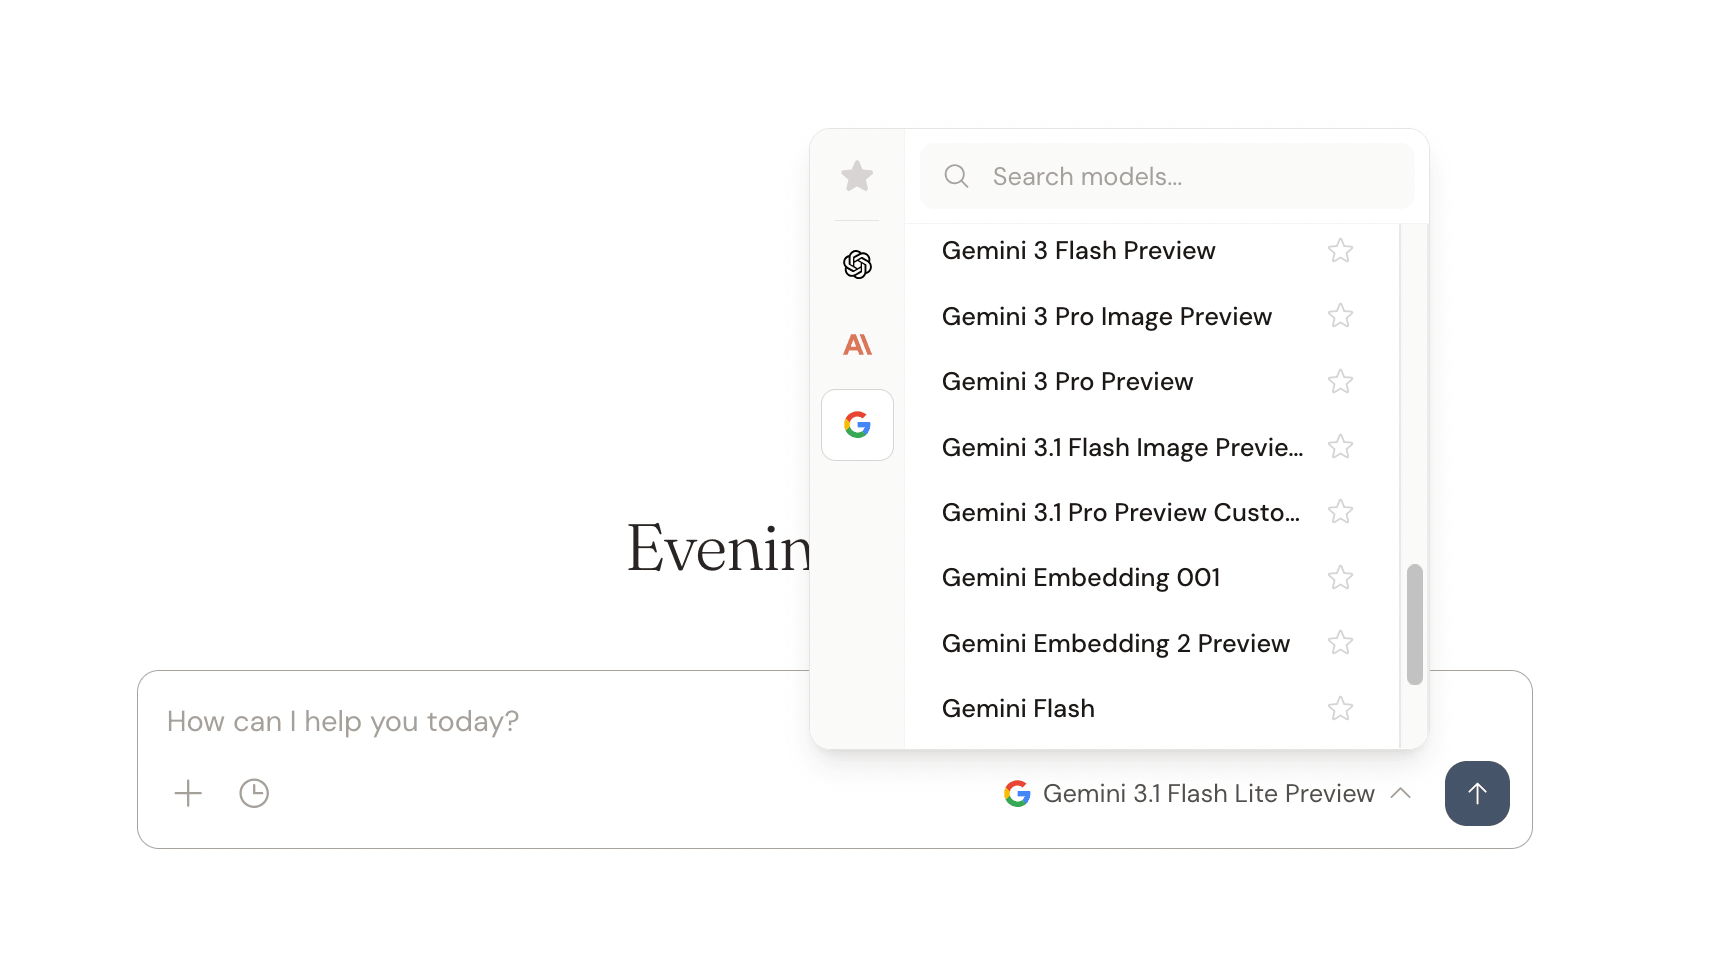
You can search for models by name using the search bar at the top of the popup. To star or unstar a model, click the star icon next to it — starred models appear in the Favorites tab for faster access.
Temporary chats
Temporary chats are conversations that aren't saved to your chat history. They're useful for quick, throwaway questions you don't need to keep.
To start a temporary chat, click the clock icon in the chat input area. The interface will change to a darker theme to indicate you're in temporary mode.
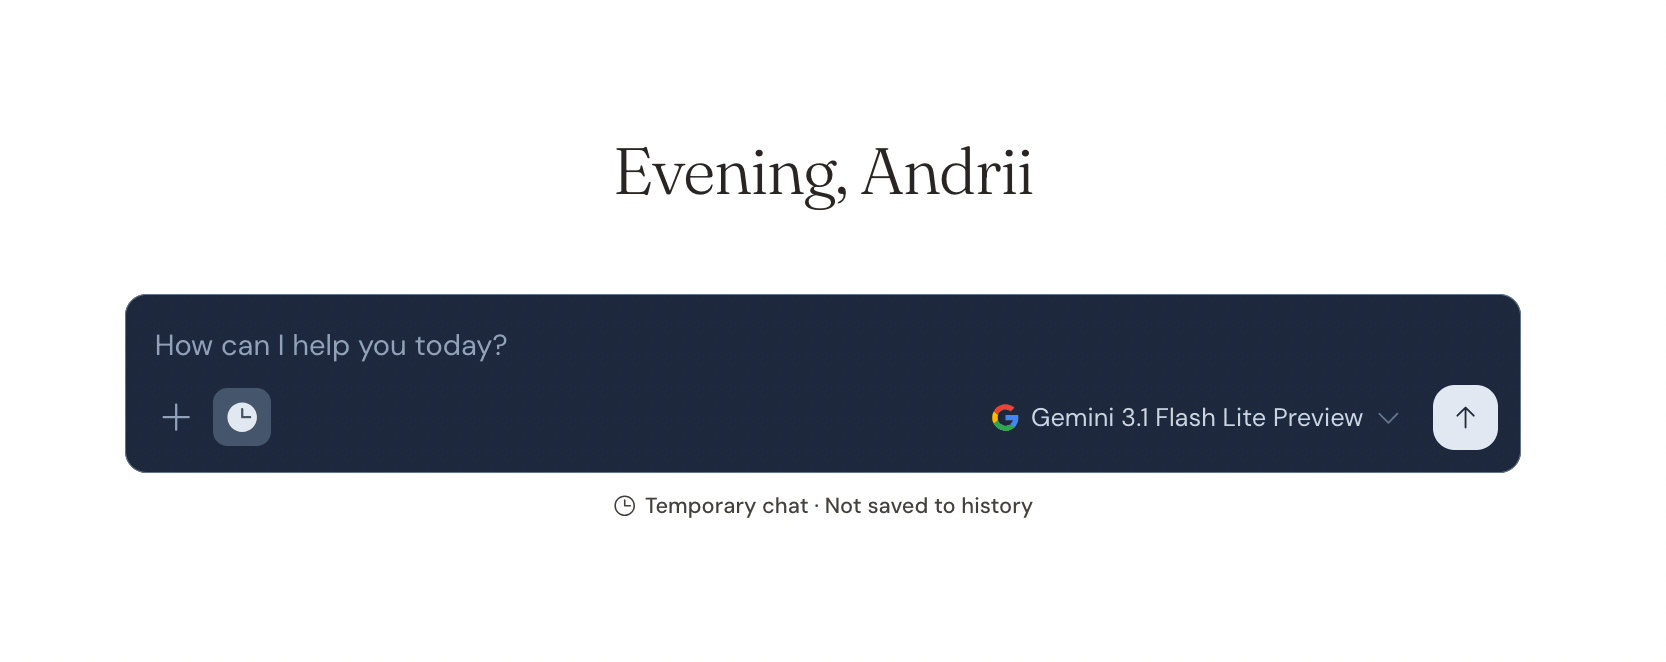
Temporary chats are automatically deleted after 24 hours. They won't appear in your sidebar or chat history.
Editing messages
You can edit any message you've previously sent. Hover over your message and click the pencil icon to enter edit mode. An inline editor will appear where you can modify your message and choose a different model if needed.
Click Save & Send to submit the edited message. All subsequent messages (both yours and the AI's responses) after the edited message will be removed, and the AI will generate a new response based on your edit.
Retrying responses
If you're not satisfied with an AI response (or if it failed), hover over the assistant's message and click the retry icon (counter-clockwise arrow). This will regenerate the response using the same model and context.
Attaching files
You can attach files to your messages for the AI to process. Click the plus icon in the chat input and select Add files or photos, or simply drag and drop files into the chat.
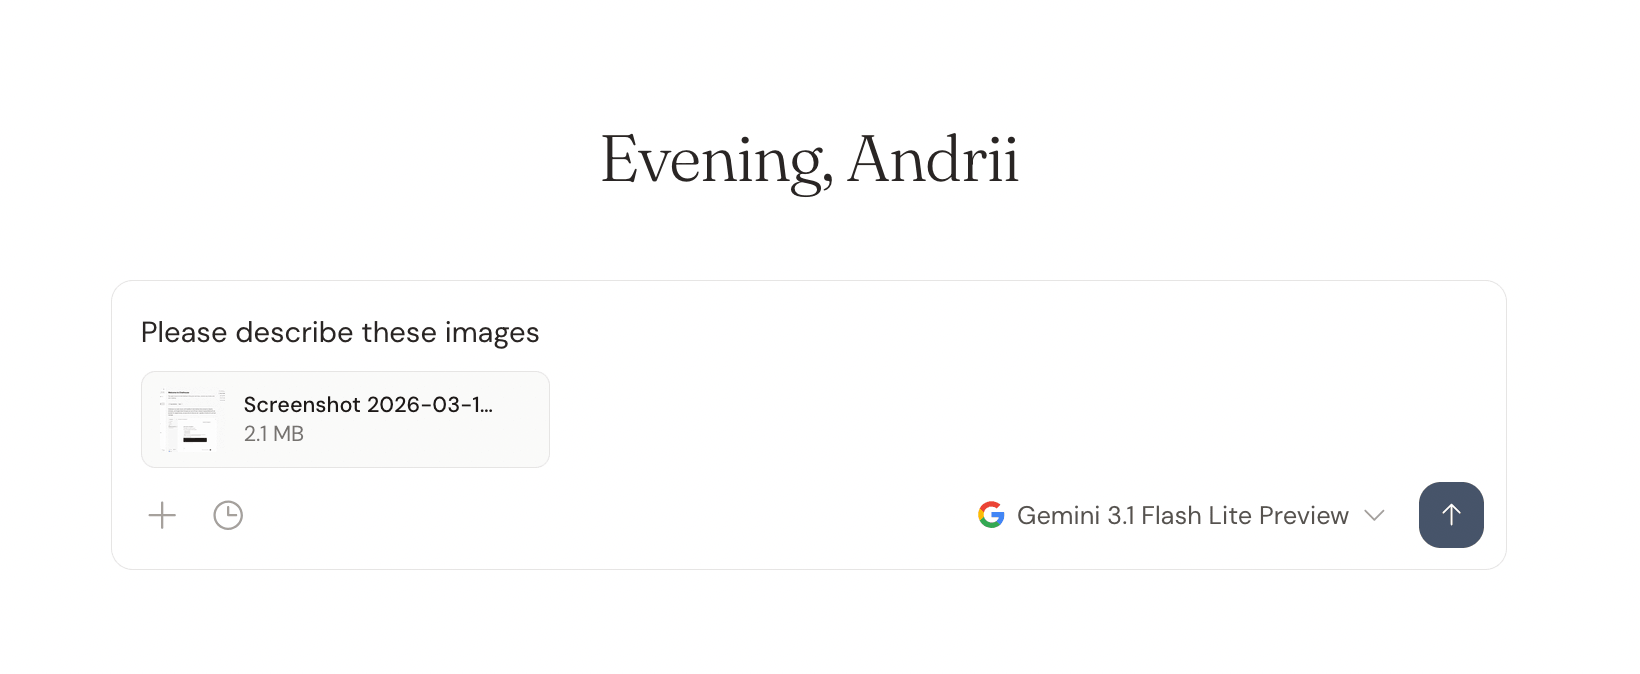
Supported file types include images (JPEG, PNG, GIF, WebP), PDFs, text files, CSV, Markdown, and JSON. The maximum file size is 20 MB per file.
Attached images appear as thumbnails below your message. You can click on any image thumbnail to open a full-size preview.
Copying messages
Hover over any message and click the copy icon to copy its content to your clipboard. A checkmark will briefly appear to confirm the copy.
Chat history
All your non-temporary conversations are saved automatically. You can browse them in two ways:
- Sidebar — your recent chats appear in the left sidebar, grouped by time period (Today, Yesterday, Previous 7 days, Previous 30 days, then by month)
- Chats page — navigate to
/chatsfor a full-page, searchable list with infinite scroll
Pinning chats
To keep important conversations at the top of your sidebar, click the three-dot menu on any chat and select Pin. Pinned chats appear in a dedicated section at the top of the sidebar.
Renaming chats
Chat titles are generated automatically (either by AI or from the first few characters of your message, depending on your preferences). To rename a chat, click the three-dot menu and select Rename, then type a new title and press Enter.
Deleting chats
Click the three-dot menu on any chat and select Delete. You'll be asked to confirm before the chat is permanently removed.